
Photoshop Tutorial: How to create Reflective Metallic Text

If you have any questions, suggestions, or comments in general, don't hesitate to post in the comments.
View the tutorial after the jump!
Part 1: Creating the Base and Background for the Reflective Text
1. Create a new document and call it whatever you want.
2. Make the proportions 700px wide, and 500px high.
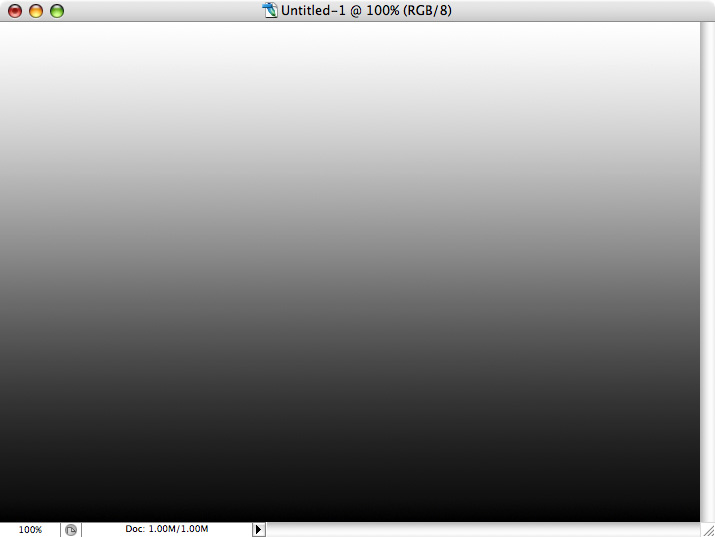
3. On the background layer, make a black to white gradient from bottom to top, like this:
4. a new layer and call it "bg wall"
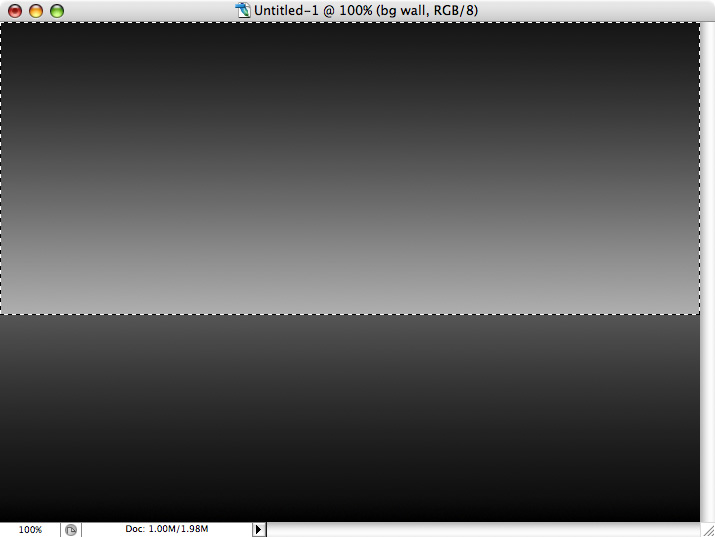
5. Make a selection using the "Marquee Tool" of roughly the top 60% of the document and create a gradient going from a grayish tone to nearly black, like this:
6. Deselect the selection (CMD+D on Mac, CTRL+D on Windows).
7. Now to give the stage base and background wall a sense of separation, create a light gray 1px line on the upper portion of the base, using the "Line Tool," like this:

Note: Now we have set up the base foundation for our reflective metallic text.
Part 2: Creating the Reflective Text with Effects
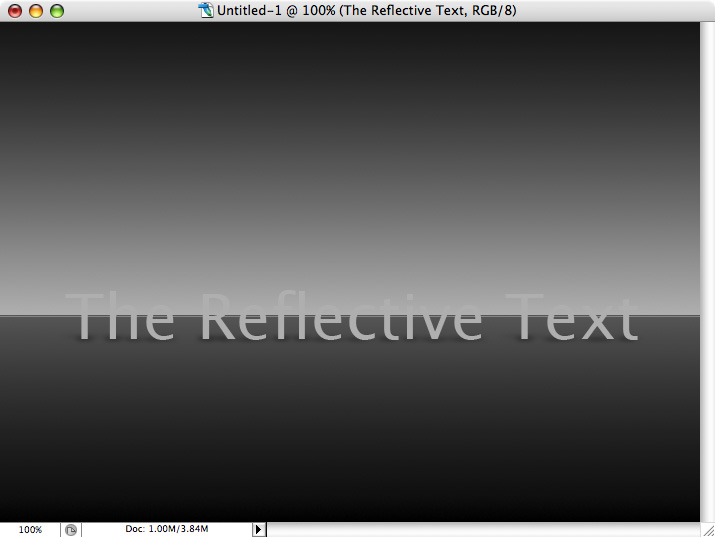
8. Take the "Text Tool" (T) and write out some sample text using your font of choice.
Note: The color of the text doesn't matter at this point since we will be applying blending options to it. In my case, I made it gray since the reflection will be grayish from the metallic look of the text.
9. Duplicate the text layer you made (CMD+J on Mac, CTRL+J on PC) and vertically flip the layer (Edit > Transform > Flip Vertical) to make it look mirrored, and call the layer "text reflection," like this:

Note: Don't forget to adjust the text appropriately in terms of location in order to make it look like an actual mirroring. After you have done this, hide the layer by clicking the little eye on the left side of the layer. Make sure this layer is below the actual text.
10. Duplicate the original text layer again and place it above the reflective text layer. Name this layer "text shadow." Now hide the original text layer so we can work on the text shadow.
11. First, make the color of the text black. Now we need to rasterize the type to make it editable (Layer > Rasterize > Type).
12. Now we have to shrink the text to turn it into a shadow. CMD+T on Mac or CTRL+T on Windows to Transform the layer. Take the top center bullet and drag it down to make the transformation look like this:

Note: After doing so, hit "Return" or "Enter" to accept the transformation.
13. Now apply a Gaussian Blur (Filter > Blur > Gaussian Blur...) with the following settings:

14. Now apply a Motion Blur (Filter> Blue > Motion Blur...) with the following settings:

15. Reveal (unhide) the original text layer to see it show up on top of the new shadow we just created. You might have to bump the text layer up by one pixel to make it fit right into the shadow, but it's more an option for you.
- - So far, we have this:
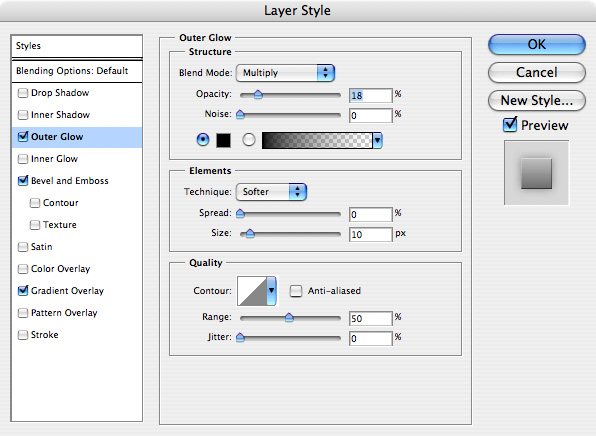
16. Now let's decorate the text to make it look metallic. Go to the Blending Options of the main text layer (Layer > Layer Style > Blending Options...). Make the settings according to the following screenshots:


Note: Now that we have the text styling done, we work on the reflection...
17. Now reveal (unhide) the text reflection layer. Add a Layer Mask to this layer by pressing the button on the bottom of the Layers Pallet, like this:

18. While having the layer mask selected, make sure your colors are set to default (by hitting "D" on the keyboard). Use the Gradient Tool (G) to hide the bottom portion of the reflection by drawing from bottom to the top, like this:

Note: You can play with the Opacity of the layer to make the reflection more suitable to your needs. In my case, I dropped it 60% after I took the screenshot above.
-Alright! Good job! This tutorial is complete, but you can go back and make some modifications for whatever reason.
-Here's my final piece after playing around with the darkness of the base, text size, and the background wall:
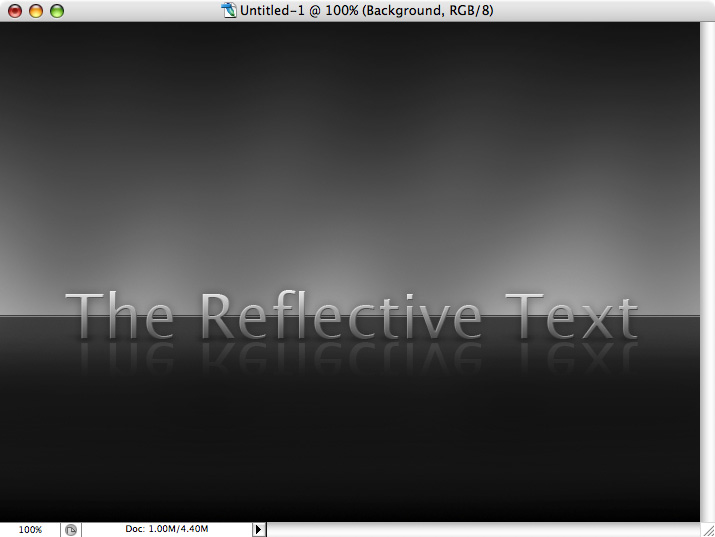
Note: To make the shading effects on the background wall and on the base, I simply used the Burn Tool with different exposure settings.
Source : Here


